
How to Build a Work Bag That Survives a Real Commute (5‑Second Store Test)
Skip the hype and learn the hardware cues that guarantee a bag that lasts the grind.
The Morning Rush: Spotting a Bag That Won’t Quit Before You Do
A train screeches into the platform, the doors hiss open, and the first wave of commuters squeezes in. A hand reaches for the tote that’s supposed to hold a laptop, a notebook, a reusable water bottle, and the inevitable extra‑sized umbrella. The strap catches on a metal pole, the zipper snarls, and the whole thing hangs limp on the shoulder. The bag looks sleek in the window, but it’s already showing the wear that will turn a stylish commute into a daily frustration.
What most guides on commuter bags do is parade glossy photos and name‑dropping designers, then leave the reader with a tote that crumbles after a few weeks of train‑rattling, bike‑bumping, and subway‑swinging. The missing piece is a quick, reliable way to tell, before you spend a paycheck, whether the bag’s hardware and construction can actually survive a real‑world grind. The good news: a solid bag can be identified in under five seconds on the shop floor. The following sections break down exactly what to look for, why each cue matters, and how to run a quick store test for durable commuter work bag without needing a magnifying glass or a PhD in textile engineering.
What Makes a Work Bag Truly Commute‑Ready? (Hardware & Construction Basics)
A commuter‑ready bag is more than a pretty silhouette. It’s a collection of small decisions that add up to big durability. The three hardware pillars that separate a bag that lasts from one that quits are:
- Zipper quality – The moving teeth that keep the interior sealed. A weak zipper is the most common point of failure on a daily‑use bag.
- Stitch density – The tightness of the stitches that hold the fabric together. Loose stitching creates weak seams that split when the bag is loaded or brushed against a strap.
- Strap construction – The way the strap is attached and the material it’s made from. A well‑built strap stays firm and resists sagging even when the bag is empty.
When each of these components meets a solid standard, the bag can handle the repeated stress of a commuter’s routine: being tossed into a bag rack, slammed against a train door, and carried for miles on a bike or on foot. The next three sections unpack each red flag in detail, so the quick store inspection for commuter bag strength becomes second nature.
Red Flag #1 – The Zipper Brand That Determines Longevity
The zipper is the most visible piece of hardware, yet most shoppers never pause to consider its make. Two brands are widely recognized for high‑stress applications: YKK and Riri. Both are known for tight tolerances, smooth pull, and metal or heavy‑duty molded teeth that resist bending.
What to look for in five seconds:
- Metal teeth – If the zipper teeth are visible and feel solid, you’re likely dealing with a metal‑to‑metal system rather than a cheap plastic coil.
- Brand imprint – Run a fingertip along the zipper tape; many YKK or Riri zippers have a tiny embossed logo near the pull tab.
- Smooth glide – Give the pull a gentle tug. It should move without catching. A snaggy pull often signals a misaligned tooth row, which will catch on fabric and break sooner.
If the bag uses a generic “invisible” plastic zipper, it’s a red flag. Those are fine for light accessories but not for a durable work bag for daily commute that will be opened and closed dozens of times each day. Opt for a bag that explicitly lists YKK or Riri in its product description, or verify the brand in‑store using the quick visual cue above.
Red Flag #2 – Stitch Density: How to Sense Strong Seams
Stitch density, sometimes called “stitch per inch” (SPI), tells you how tightly the fabric is sewn together. A high density means the seam can distribute stress evenly, while a low density creates weak points that split under load.
How to check it in the store without a ruler:
- Locate a seam – The side seam or the bottom edge is usually visible.
- Feel the line of stitches – In a short stretch of about two inches, you should feel a continuous line of stitches with no gaps.
- Assess consistency – The stitches should be evenly spaced, with no loose loops. A “wobbly” seam often indicates a low‑quality thread or a rushed sewing process.
If the bag’s seams feel loose or you can visibly see gaps, the stitch density checklist for commuter bags fails. Those seams will likely split when you load a laptop or when the bag brushes against a crowded subway pole.
Red Flag #3 – Empty‑Weight Feel: Predicting Strap Durability
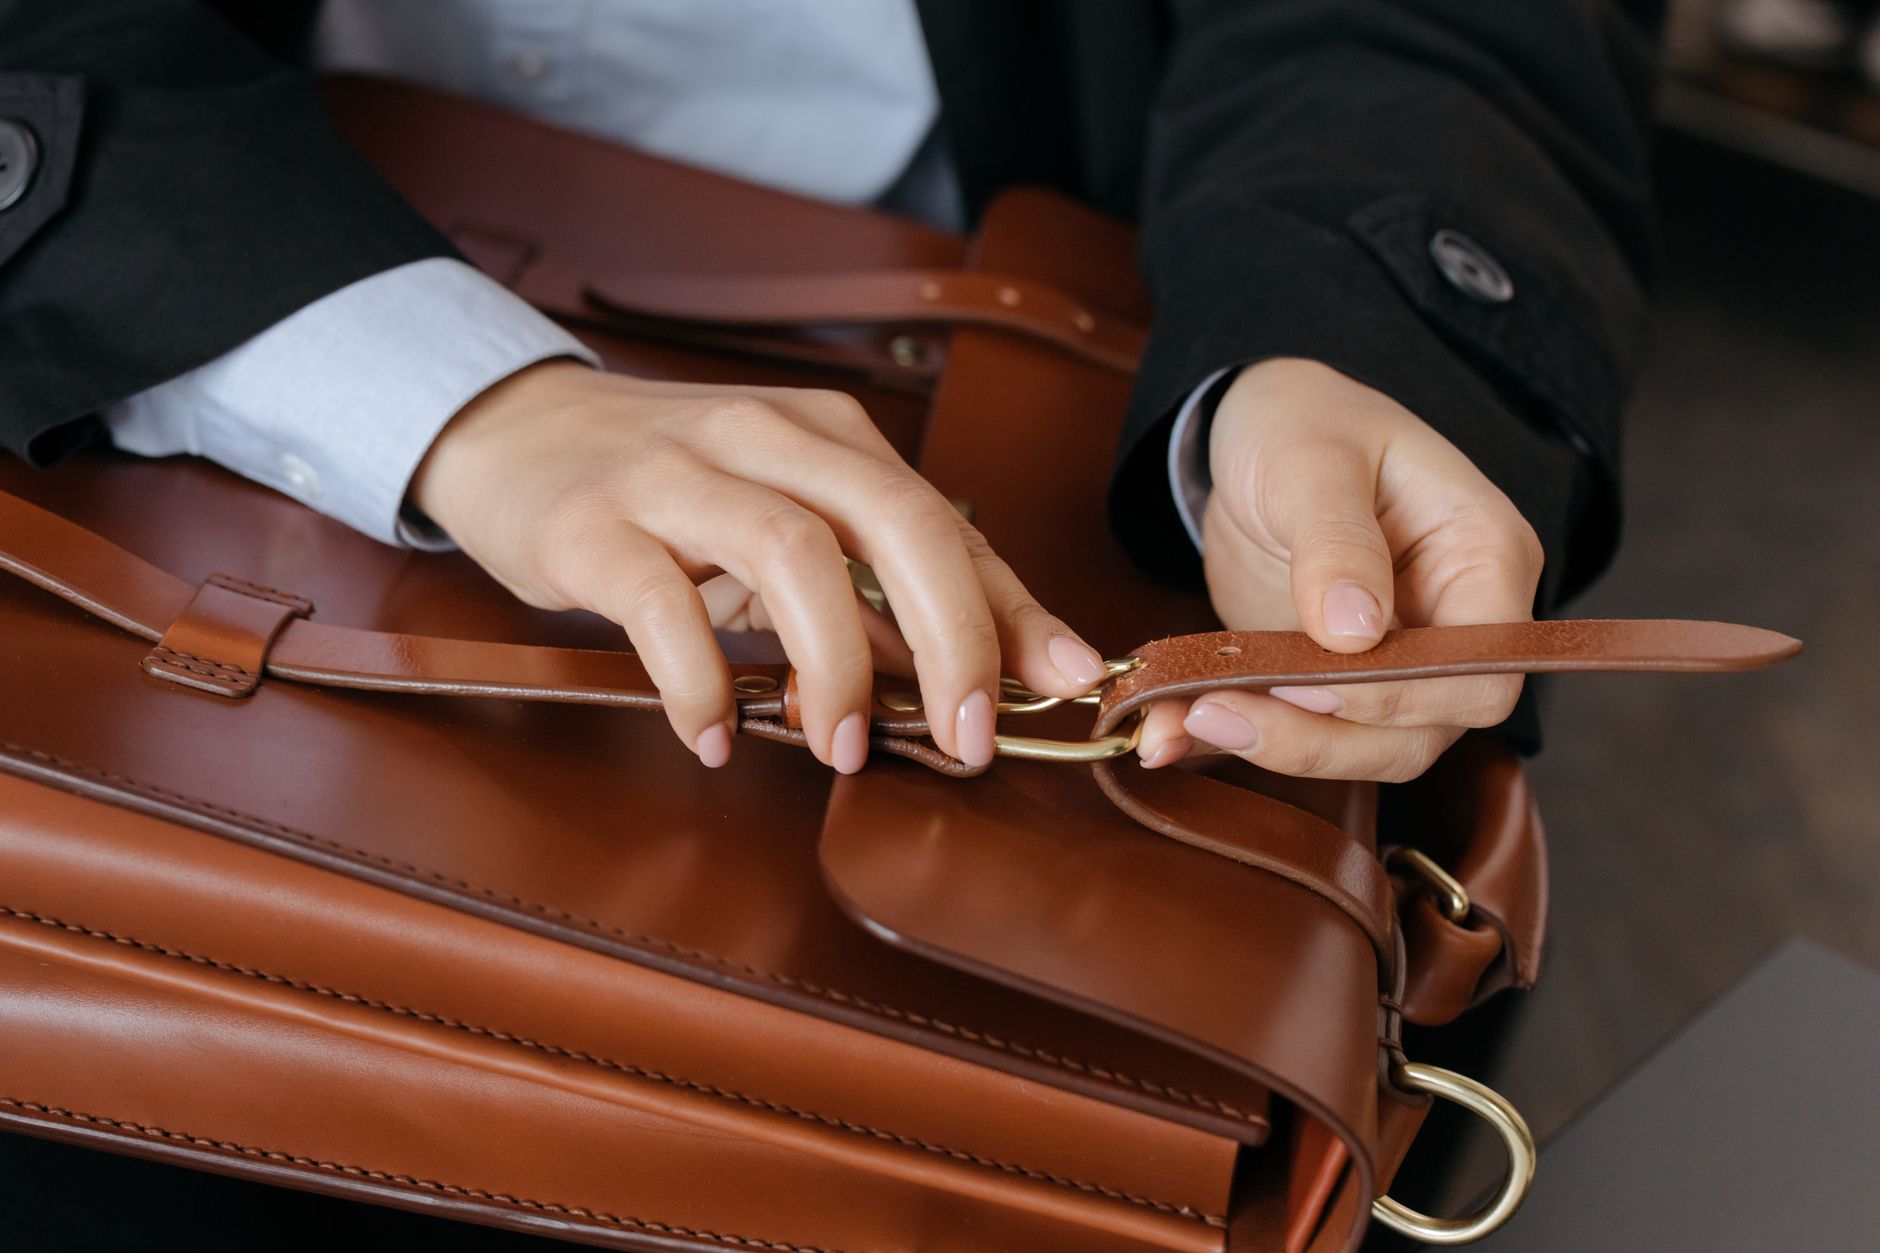 Photo by cottonbro studio via Pexels
A strap may look sturdy, but its true strength is hidden in the stitching and the webbing material. A practical way to gauge it is by how the bag feels when you lift it empty.
What to test in five seconds:
- Lift the empty bag – Hold it by the strap and gently lift it off the shelf.
- Notice the sag – A high‑quality strap will stay relatively taut, with minimal sag.
- Listen for creaking – Any squeak or stretch noise suggests the webbing is under tension even when empty, a sign that the strap’s capacity is limited.
If the bag sags noticeably or the strap feels like it’s about to give, it’s a red flag. A strap feel test that fails this step means the strap will likely fray or the stitching will rip once you add a laptop, a charger, and a water bottle. Look for reinforced strap loops, double‑stitched attachments, and webbing made from high‑denier nylon or polyester.
Fast‑Track Store Inspection: A 5‑Second Checklist You Can Use Right Now
Now that the three red flags are clear, combine them into a rapid, repeatable inspection routine. The goal is to decide in under five seconds, no need for a magnifying glass or a notebook.
- 1️⃣ Zipper brand check – Run a finger along the zipper teeth and look for a tiny YKK or Riri imprint; metal teeth and smooth glide are good signs.
- 2️⃣ Stitch feel – Touch a visible seam and feel for a tight, continuous line of stitches without gaps.
- 3️⃣ Empty‑weight strap test – Lift the bag by the strap and observe sag; a taut strap with no creaking is ideal.
- 4️⃣ Hardware glance – Scan for reinforced corner loops and solid metal hardware (D‑rings, buckles); they should feel sturdy, not wobbly.
- 5️⃣ Overall feel – Give the bag a quick shake; it should feel balanced, not sloppy.
If the bag passes all five points, it’s a solid candidate for a quick store test for durable commuter work bag. If any step fails, move on; there are plenty of options that meet the criteria without sacrificing style.
Putting It All Together: Building Your Commute‑Proof Bag
Now that the inspection method is in hand, the next step is assembling a bag that meets the hardware standards while still fitting your personal aesthetic and functional needs. Below are practical tips for each component of a commuter‑ready tote.
1. Choose a body fabric that complements hardware strength
Canvas, ballistic nylon, and waxed cotton provide a sturdy base that resists tearing. These fabrics also hide scuffs from bike‑bumping and train‑rattling better than delicate leather. If you love the look of leather, consider a leather‑accented hybrid where the main panels are nylon and the trim is genuine leather; this gives a luxe feel without compromising durability.
2. Prioritize internal organization without extra bulk
A well‑designed interior can reduce the load on straps and seams. Look for padded laptop sleeves that are stitched into the bag’s main body rather than glued on; glued attachments often peel under repeated stress. Include a small zippered pocket for chargers and a mesh compartment for a water bottle; these keep items from shifting and putting uneven pressure on the bag’s walls.
3. Test the bag with your own load before buying
If the store allows, place a laptop (or a similar weight) inside the bag and hold it by the strap for a moment. Does the strap still feel firm? Does the bag’s bottom stay level, or does it sag? This quick “load simulation” mimics the real‑world scenario and validates the strap feel you observed earlier.
4. Keep an eye on hardware beyond the zipper
Metal D‑rings, buckles, and reinforced corner patches are signs of thoughtful engineering. They distribute stress away from the fabric and prevent tearing at high‑stress points. A bag with plastic hardware may look sleek, but plastic tends to crack under repeated impact.
5. Consider replaceability and repairability
A bag that can have its zipper replaced or its strap swapped extends its lifespan dramatically. Brands that sell spare parts or offer a repair service are worth the extra research. Even if the bag is a bit pricier upfront, the cost per wear drops dramatically when it lasts years instead of months.
How to Choose the Right Size and Load Capacity for Your Commute
 Photo by Artem Podrez via Pexels
A bag that fits everything you need but is still comfortable to carry requires a balance of volume and structural support. The following steps help narrow down the ideal size without guessing.
1. Measure Your Core Items
- Laptop – Note the screen size and the thickness of the chassis.
- Notebook or planner – Most daily planners are compact enough to fit in a standard pocket.
- Water bottle – A typical reusable bottle is about a foot tall.
Add a small margin to each dimension to allow for protective padding and easy insertion. The resulting internal dimensions give a minimum “usable space” figure.
2. Match Internal Pocket Layout to Your Items
Look for bags that list internal pocket dimensions in the product description. If the description is vague, ask a sales associate to open the bag and show you the interior. A dedicated laptop compartment that matches the measured laptop size prevents the device from shifting, which in turn protects the strap from uneven load.
3. Estimate Expected Load
Add the weight of each core item: laptop, notebook, water bottle, plus any daily extras (keys, snacks, chargers). Most commuters fall within a comfortable range for a well‑built strap.
If the strap felt solid when you lifted the empty bag, it likely can handle the typical load without strain.
4. Test the Bag’s Balance
Hold the bag by its strap with the core items inside. The bag should sit close to the body, with the weight centered over the shoulder. If the bag pulls outward or feels like it will tip forward, the internal layout is off‑balance. A well‑balanced bag reduces shoulder fatigue and prevents the strap from stretching prematurely.
5. Verify Expandability Options
Some commuters need occasional extra space for a printed report or a change of clothes. Look for external zippered expansion panels that add a modest amount of capacity without compromising the main seam quality. These panels should have the same hardware quality as the main body, metal zippers and reinforced stitching.
By following these steps, the bag you select will comfortably house everything you need while staying within the structural limits identified in the earlier hardware checks.
Maintenance Tips to Extend Your Bag’s Life
Even the toughest commuter bag will show wear if it’s neglected. A few minutes of routine care each week keep the hardware moving smoothly and prevent small problems from becoming catastrophic failures.
1. Keep Zippers Lubricated
A dry zipper can catch, especially after exposure to rain or dust. Use a silicone‑based lubricant, apply a small dab to the teeth and work the pull back and forth a few times. Avoid oil‑based products; they can attract grime.
2. Spot‑Clean Fabric Before Stains Set
For canvas or nylon, a damp cloth with mild soap removes spills before they soak into the fibers. For waxed cotton, a soft brush can lift dirt without stripping the protective wax coating. Never submerge the bag unless the manufacturer explicitly states it’s waterproof.
3. Inspect Stitching Regularly
Once a month, run a fingertip along the main seams and strap attachments. Look for any loose threads or tiny gaps. If a stitch begins to pull away, a quick hand‑sew with a strong polyester thread can stop a seam from splitting entirely.
4. Rotate Shoulder Straps
If the bag has interchangeable straps, switch them weekly. This distributes wear across both straps and prevents one side from becoming permanently stretched.
5. Store the Bag Properly When Not in Use
Hang the bag on a wide hook rather than folding it over a narrow edge. This keeps the straps from developing permanent creases and maintains the bag’s shape. For bags with leather accents, a breathable cloth cover protects against dust without trapping moisture.
6. Replace Worn Hardware Promptly
A metal D‑ring that shows signs of bending or a buckle that no longer clicks should be swapped out before it fails under load. Many hardware suppliers sell universal replacements that fit standard strap widths.
7. Use a Rain Cover for Extreme Weather
Even water‑resistant fabrics can soak through seams after prolonged exposure. A lightweight, foldable rain cover slides over the bag in seconds and adds an extra barrier, preserving both the fabric and the internal electronics.
By integrating these simple habits into a weekly routine, the bag that passed the 5‑second store test will keep performing for years, saving you the expense of frequent replacements.
Close
Remember the three‑point rule: metal zipper, tight stitches, and a firm strap. Spot those cues, match the bag to your load, and give it a quick weekly check. The next time the train doors hiss open, the bag will stay put, the zip will glide, and the commute will feel a little smoother.
Action step: Before leaving the store, run the five‑second checklist on at least three bags. Walk out with the one that passes every point, and you’ll have a commuter companion that lasts.
Frequently asked questions
What zipper brands should I look for in a commuter work bag?
Look for metal‑to‑metal zippers from YKK or Riri. Both brands have tight tolerances, smooth glide and embossed logos that can be felt on the tape.
How can I quickly tell if a bag’s zipper is high quality?
Run a fingertip along the teeth; metal teeth that feel solid and an embossed YKK or Riri logo indicate a durable zipper. The pull should glide smoothly without catching.
What stitch density is considered safe for daily commuting?
Aim for 10–12 stitches per inch (SPI) on the main body seams and 12–14 SPI on high‑stress areas like strap attachments. Anything below 8 SPI is a red flag.
How do I check stitch density in a store without a ruler?
Feel a visible seam and count the stitches in roughly a 2‑inch span; you should feel at least 20–24 evenly spaced stitches.
What does the ‘empty‑weight threshold’ test reveal about a strap?
Lift the empty bag by the strap: if it stays taut with no sag or creaking, the strap likely supports 10–12 lb. A sagging or noisy strap suggests a low load capacity.
What quick five‑second checklist can I use to evaluate a bag in store?
Check for metal YKK/Riri zipper, feel for ≥20 stitches in 2 inches, lift the empty bag to test strap tautness, glance at reinforced metal hardware, and give the bag a shake for overall balance.
How can I maintain my commuter bag to keep it lasting years?
Lubricate the zipper with silicone spray, spot‑clean the fabric, inspect stitching monthly, rotate straps, store the bag hanging, replace worn hardware promptly, and use a rain cover in wet weather.